
“What’s your tire pressure? How much air should I put in my tires? These are questions I frequently encounter. However, there is no one-size-fits-all answer to these questions due to various factors influencing the correct tire pressure for mountain biking.
Therefore, my tire pressure may not necessarily be the same as the one you should use when hitting the trails. In this article, I delve into all the factors you must consider to determine the tire pressure for your tires.
Based on these factors, you can establish a baseline tire pressure to fine-tune yourself… Once you’ve found the sweet spot (for yourself), a new world will open up because, with the right tire pressure, mountain biking will only become more enjoyable and easier!”
Determining the correct tire pressure
Below is an overview of the key factors in determining the correct MTB tire pressure. You will immediately notice that tire pressure depends not only on your weight and riding style but also on your entire MTB setup, which plays an important role.
- Surface and terrain type
- Weather conditions
- Total weight of the mountain biker & mountain bike
- Wheel diameter
- Tire width
- Rim width and type
- Tubeless or not?
- Tire construction
- Riding style and personal preference
Surface and terrain type
The terrain you’ll be riding on plays a crucial role in determining tire pressure. If, for any reason, you mainly ride on roads or asphalt with your MTB, you’ll want to hit the road with harder tires to minimize rolling resistance.
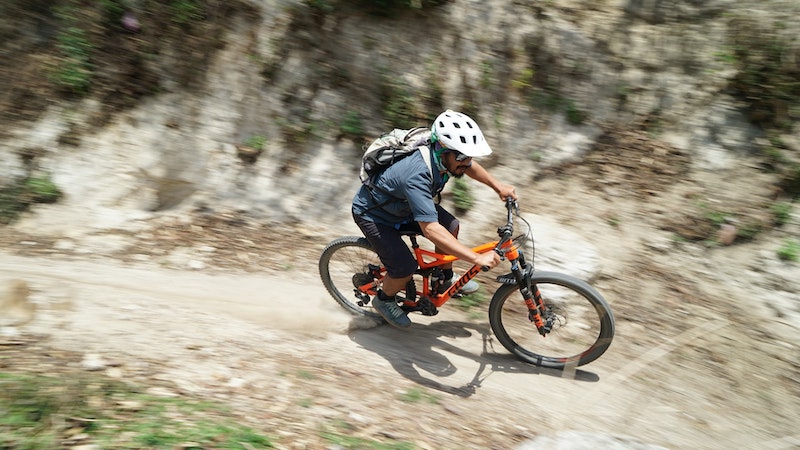
However, it’s a different story in the woods or on rough terrain. Flatter tires provide more grip, control, and comfort. If you’re tackling paths and trails with obstacles like roots and rocks, you’ll undoubtedly want as much grip, control, and extra comfort as possible. Lowering the tire pressure on your MTB is a good idea in such scenarios.
By riding with lower tire pressure, the tire can better deform around obstacles, providing you with more grip and control. Riding over such obstacles with hard-inflated tires will feel far less pleasant and will likely result in significantly less grip and control, not to mention comfort.
If you ride over obstacles with hard tires, you’ll get shaken around quite a bit. You could compare it to road cyclists riding over cobbles with their hard-inflated tires (and no suspension), which also doesn’t provide the most pleasant cycling experience.
Weather conditions
In addition to the terrain type, the surface condition also plays a role in determining the correct MTB tire pressure. In wet and muddy weather, riding with lower tire pressure is wise to increase grip and reduce the likelihood of your tires slipping.
When the trails are dry, you can opt for slightly higher tire pressure to decrease rolling resistance, ride with less effort, and tear through the trails faster.
Total weight of the mountain biker & mountain bike
Your own weight also influences MTB tire pressure. This is again one of the parameters that makes tire pressure on the mountain bike different for everyone. If you are heavier, you will need to add more air to the tires. This prevents the tire from compressing too much and potentially damaging the rim.
When determining the sag of your fork and shock, it’s wise to consider the total weight of the gear you carry on your mountain bike. This includes your MTB backpack and necessary tools and your MTB clothing and shoes. Depending on how heavily loaded you are, this can easily add up to a few kilograms.
The weight of your mountain bike can also be a factor in determining tire pressure. In addition to your weight, the weight of the frame and components is borne by the tires, which are the contact points with the ground. If you have a heavy mountain bike or an e-MTB, slightly higher tire pressure is advisable.
Wheel diameter
Most contemporary mountain bikes are equipped with a set of 29″ wheels. However, for smaller frame sizes, various brands sometimes opt for 27.5″ wheels.

26″ wheels are no longer common in the cross-country world. However, they may still be found in the downhill discipline.
The advantage of a larger wheel diameter is that it inherently provides a larger contact patch with the ground. With a 29″ wheel, you essentially have more grip than with a 27.5″ or 26″ wheel. Due to this larger contact patch, it’s also possible to ride with lower tire pressure.
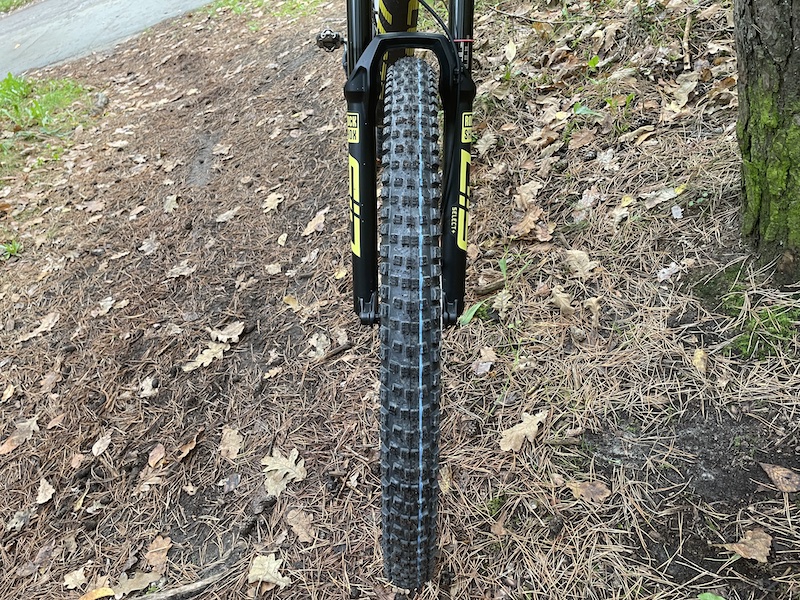
Tire width
A wider tire may be heavier, but you can ride it with lower tire pressure. As a result, 2 bar (29 psi) in a wide MTB tire will feel much firmer than in the tire of a city or road bike.
When riding over obstacles such as roots, rocks, and stones with wider tires, less energy is spent on deforming the tire. Therefore, a wider tire at low pressure will provide you with much more grip in these conditions.
Because less energy is spent on deforming the tire, wider tires at low pressure, particularly on technical terrain, have theoretically less rolling resistance and allow you to go faster. Of course, this doesn’t apply to flat or asphalted terrain.
A wider mountain bike tire has a higher volume and deforms widthwise, whereas a narrower tire will deform more lengthwise. The widthwise deformation results in a larger contact patch, providing more grip, control, stability, and comfort.
Rim width and type
The rim must also have a certain width to mount the aforementioned wider MTB tires. A wider tire fits better on a wider rim, allowing you to ride with lower tire pressure.
A wide rim requires less air and provides more support to the MTB tire. Wider rims are sturdier and ensure the tire beads are further apart. As the beads are further apart, the tire also becomes wider.
So, if you have wide rims, you can also mount wider tires and ride with lower tire pressure on your MTB.
Hookless rims
If your MTB has hookless rims, you can reduce tire pressure further. Hookless rims have straight rim edges instead of the traditional hooks (curved edges) that the tire can latch onto.
By eliminating these hooks, the internal rim width becomes larger while the outer width remains identical. The increased internal width provides more volume and a rounder tire shape, making mounting tubeless tires much easier. Thanks to the higher volume, you can lower the tire pressure.
Construction and quality of the tire carcass
In addition to tire width, tires can also vary in construction. The quality of the carcass is often referred to as TPI, which stands for Threads Per Inch.
TPI indicates the number of thin threads per inch in the tire’s carcass. The higher the TPI value, the more threads are used, resulting in a smoother tire.
Tires with a high TPI are more supple and lighter, with lower rolling resistance. However, the trade-off is that they are less puncture-resistant.
Tires that are reinforced for puncture resistance can be ridden at lower pressure. While supple racing tires can also be ridden at low pressure, there is a slightly higher risk of punctures.
Tubeless or not?
If you have a tubeless setup on your MTB, you can drastically reduce the tire pressure again compared to a setup with inner tubes. With tubeless tires, the risk of punctures is much lower, and you can bid farewell to those annoying pinch flats. With inner tubes, you must build a certain safety margin so you don’t puncture at the slightest obstacle.
The most common punctures are, of course, pinch flats, also known as snake bites. These are caused by contact with an obstacle where the inner tube is pinched between the tire and the rim. The result is two holes and some work ahead.
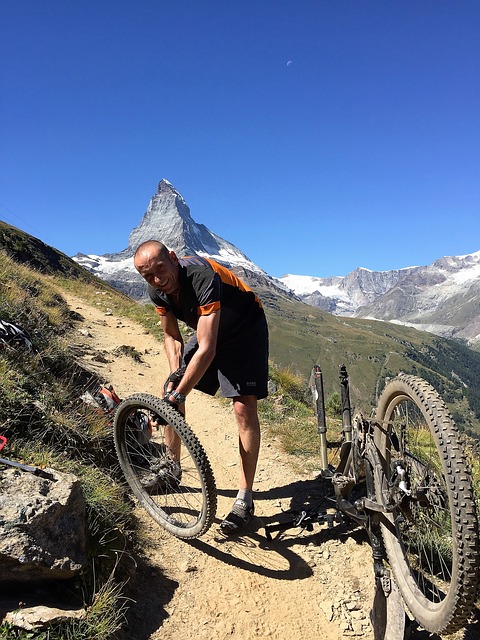
It’s wise to ride with higher tire pressure to prevent such pinch flats. However, on technical terrain, this may compromise grip and comfort.
A thorn, nail, or sharp stone in your tire can also cause a puncture. That’s just bad luck. But again, tubeless riding is the solution.
If you get a puncture with your tubeless tires, the sealant will happily seal the small leaks. In most cases, you won’t even notice it while mountain biking.
With tubeless tires, you have the advantage of increased grip, comfort, and control due to lower tire pressure and the benefit of reduced risk of punctures.
A tubeless setup is almost a must if you predominantly ride mountain trails and aren’t afraid of technical terrain. Thanks to the lower tire pressure, you’ll blast through technical trails with more grip, comfort, and confidence… And, of course, you’ll spend less time on the sidelines with mechanical issues.
Riding style and personal preference
The correct MTB tire pressure also depends on your riding style and preference. If you prioritize speed and minimizing rolling resistance, slightly higher pressure is better. On the other hand, if you crave technical challenges, you might want extra grip, stability, and comfort, opting for lower tire pressure.
If you predominantly ride a combination of all types of terrain, you need to find a balance between grip and rolling resistance. To find the perfect tire pressure, considering the other factors, you’ll need to experiment with different pressures. You will only discover which MTB tire pressure feels best for you through testing.
Once you’ve found the sweet spot for yourself, you can further fine-tune or adjust these baseline values considering the terrain, surface, technicality of the ride, and weather conditions.
When to measure and check tire pressure?
It’s wise and a small effort to quickly check the tire pressure before each ride. This prevents your tires from being too flat or too hard for the ride you’re about to undertake.
Measuring and checking tire pressure can be done with your regular bicycle pump. Additionally, you can also use an electric bicycle pump or even a specialized tire pressure gauge. The latter measures tire pressure in a matter of seconds and is definitely the fastest way to check tire pressure.
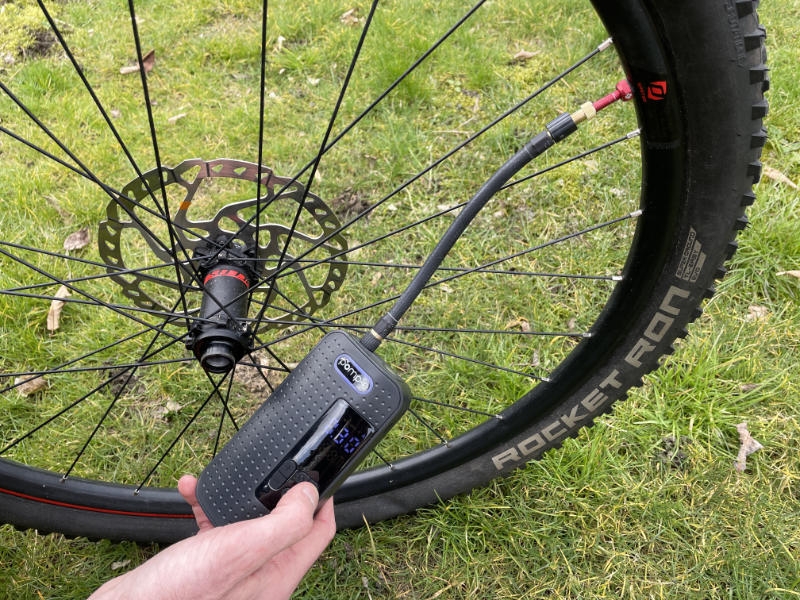
Whichever tool you use, a digital model is always more accurate. With a digital bike pump, you can also precisely set your tires to the desired pressure, often accurate to 0.01 bar.
Why is tire pressure important?
Tire pressure is crucial for mountain bikers as it greatly influences grip, comfort, stability, and overall performance. There’s no such thing as the “perfect” tire pressure because it depends on various factors and is also highly personal.
On genuine mountain bike terrain, riding with lower tire pressure undoubtedly has many advantages. You’ll create more grip and be able to ride more comfortably over obstacles. The tire will conform to the obstacles, reducing the impact felt or absorbed by your body. Of course, the mountain bike’s suspension also plays a significant role in this.

If you go mountain biking on challenging terrain with over-inflated MTB tires, you’ll quickly regret it. The bike will bounce all over the place at the slightest obstacle, and you won’t have much grip because the tire deforms less and, therefore, makes less contact with the ground and obstacles.
Tubeless tires can further reduce tire pressure, providing even more grip on challenging and off-road terrain.
This is the tire pressure I ride with
That tire pressure is quite personal, varying for everyone and dependent on various factors, is clear now. Nonetheless, below, I’d like to give you a glimpse into the setup and tire pressure I ride with. If you have similar specifications, you might find some inspiration from it…
The main factors influencing my MTB tire pressure are as follows:
- Weight: 72kg (75 to 78 kg with all gear, depending on short/long rides)
- Riding style: Cross-country (marathon)
- Wheel diameter: 29 inches
- Front tire width: 2.4″ (Schwalbe Wicked Will Addix Super Ground Speedgrip)
- Rear tire width: 2.35″ (Schwalbe Racing Ralph Addix Super Ground Speed)
- Rim width: 30 mm
- Rim type: Hookless (straight rim edge)
| Tire pressure / Terrain type | MTB | MTB / Gravel | Gravel / Road |
|---|---|---|---|
| Bar (front/rear) | 1.3 – 1.35 / 1,4 – 1,45 | 1,35 – 1,4 / 1,5 – 1,6 | 1,4 – 1,5 / 1,8 – 1,85 |
| PSI (front/rear) | 18,85 – 19,6 / 20,3 – 21 | 19,6 – 20,3 / 21,75 – 23,2 | 20,3 – 21,75 / 26,1 – 26,8 |
I always use two different tires. For the front, I prefer a tire with more grip, while for the rear, I always opt for one that rolls a bit better. The difference in tire width is solely because the Wicked Will is not available in a 2.35″ width.
For true mountain bike rides with many off-road terrains, I ride with 1.3 bars in the front and 1.45 bars in the rear. If the ride has many connecting sections or flat gravel paths, I add a little extra air, especially in the rear. I always pump the tires a bit harder for extra training rides on the road, usually around 1.5 bar in the front and 1.8 bar in the rear.
The latter was approximately the standard pressure I used to ride in the woods on the hardtail, with narrower rims (25 mm) and corresponding tires (2.25″).
Thanks to the wider tires on my full suspension bike, I’ve been able to lower the tire pressure further. The combination of wider tires, a tubeless setup, and lower pressure provides a lot of grip, more confidence on technical terrain, and a generally more comfortable feeling on the mountain bike, even during long rides and marathons.
Final thoughts
The correct or best tire pressure on the MTB depends on various factors and is highly individualized. Unless your entire setup, weight, and riding style are identical to your biking companion’s, you may use the same tire pressure. However, even in that case, it may not feel entirely “right.”
So, do your own thing and explore the tire pressure that feels the most enjoyable and comfortable. You can further optimize and fine-tune the tire pressure based on the factors you discovered in this article. Over time, you’ll know exactly which tire pressure you need for each type of ride.
Therefore, check the tire pressure before each ride and adjust as needed. A small adjustment can sometimes make a world of difference. If you feel something isn’t quite right during your ride, you can release air from the tires or add extra air with a pump.
If you’re hitting the trails hard, I recommend taking tire pressure seriously and riding with as low pressure as possible. This will give you more grip, stability, and confidence on technical or challenging terrain, making it much more comfortable to tackle obstacles.
Are you secretly pumping too much air into your tires, or have you already found the sweet spot? Be sure to let us know in a comment below.